|
The Warp Tool This quick editing video tutorial shows the power of "WARP TOOL" in moving/fixing elements in your landscape photos. Please check the video below. Thanks.  In simplest definition, composition is how the visual elements are arranged and put together in a frame. It speaks about the photographer’s vision, his ability to see. It’s how you present reality within the four corners of the 2-dimensional space. Viewers are not that interested in seeing a place; they are more interested in how you present it, how you saw it. Hence, we can easily tell if a photographer has a strong vision by just glancing at his images. A fraction of a second look is enough to feel an excellent or a mediocre impression. Within that very brief time frame, you must capture the attention or your photo is just another effort send down the drain. But it’s ok because you are not forced to create gallery-worthy photos the moment you begin purchasing your very first camera. You ain’t no Ansel Adams or any god damn landscape rock star out there, are you? But the good news is you can always learn and better start familiarising yourselves with compositions. Nature is a fantastic place to practice and test your composition skills. The stillness and grandeur of scenes are a privilege to capture. Moments that display awe-inspiring and timeless visual arrangements are a feast to photographers' hungry shutter. To see nature is clearly a very important skill if you really want to become a landscape photographer who not only catches viewers’ eyes but also make them pop out of their eye sockets. So this article is entirely about learning how to see. 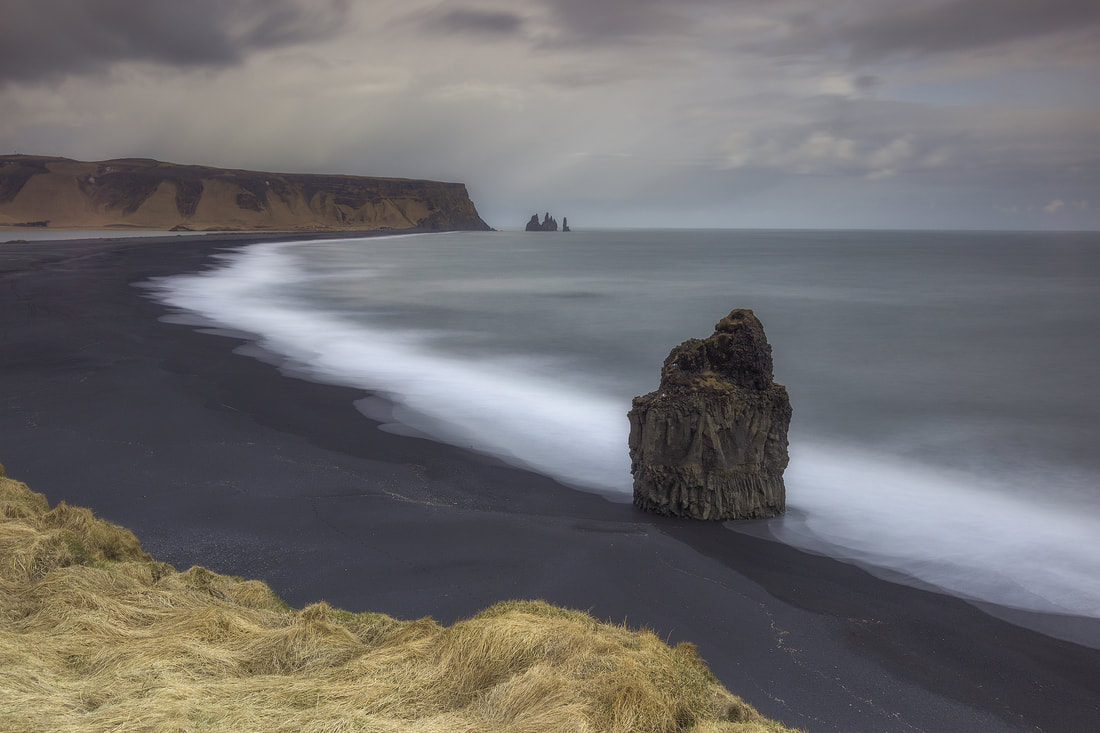 1. Rule of thirds This is the most common composition rule that guide photographers of all genres. The rule basically says that your subject must not be put dead centre. If you divide your frame into a 3×3 grid, you must position points of interest in a landscape at or close to the intersections. This gives your image balance and helps those focal points to really capture the viewers’ attention. 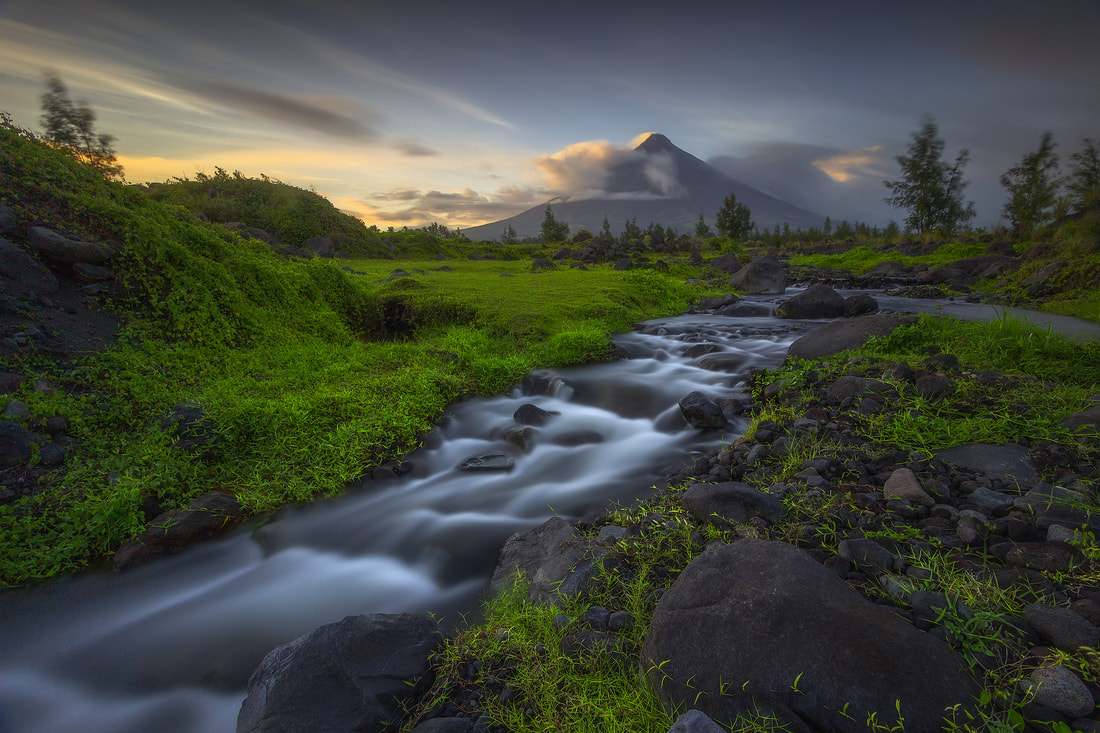 2. Diagonal lines Diagonal lines add visual movement to your landscape, effectively drawing the viewer’s eyes into the main subject of interest. This does not mean you need to look for real lines – it can be a flowing stream, a bridge, a line of boats, a fence, a shoreline, etc. They can emphasise the distances between objects in the foreground and add depth to your shot. 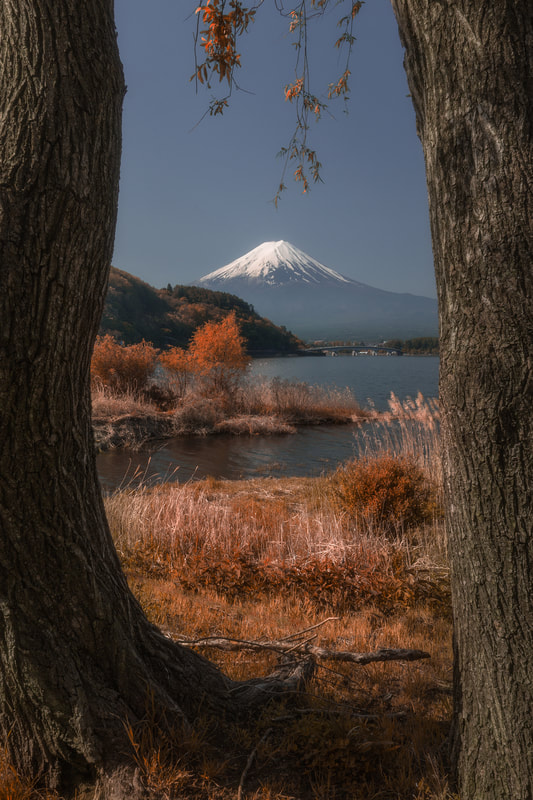 3. Frame a scene Framing a scene is placing interesting elements to the edges of your shot. The usual way to do this is include foliage, overhanging branches, or trees as your foreground. Use this technique carefully by allowing your main subject some “breathing room” within the frame. 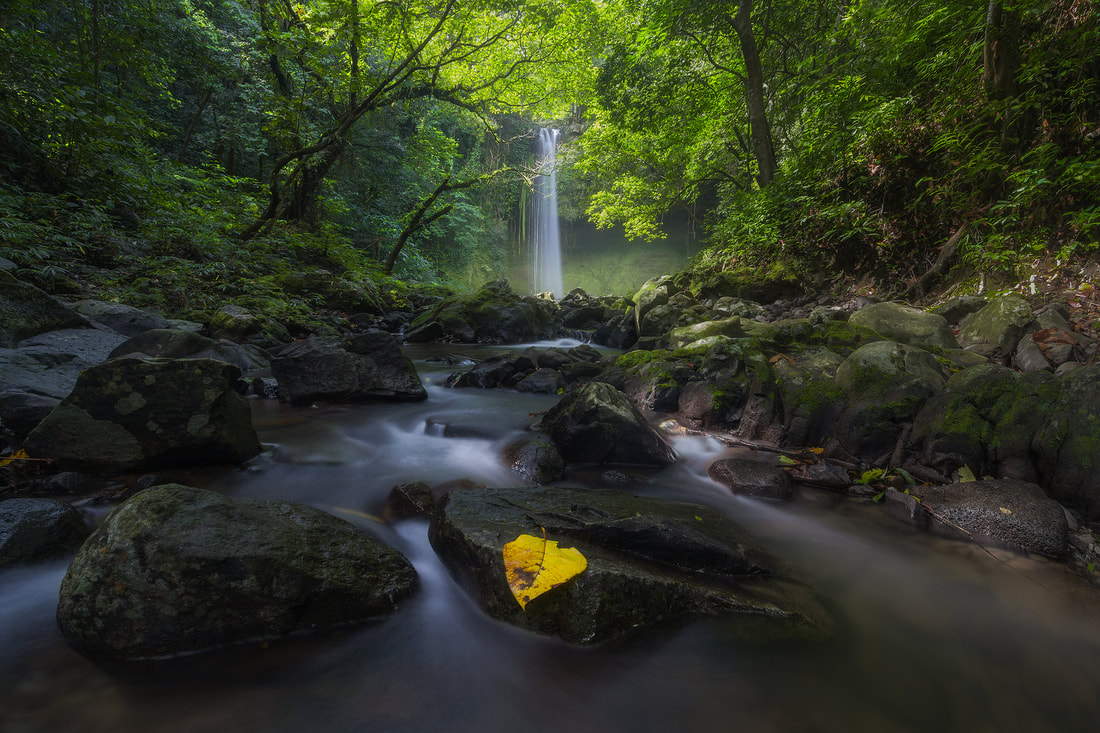 4. Emphasise a point of interest in the foreground This mountain in Laguna is known for its numerous waterfalls and lush flora. You can easily find a good foreground element against a beautiful waterfall. I framed this long exposure shot by picking up a leaf and putting it on top of a rock. This creates a colourful and interesting foreground that adds depth to the scene. 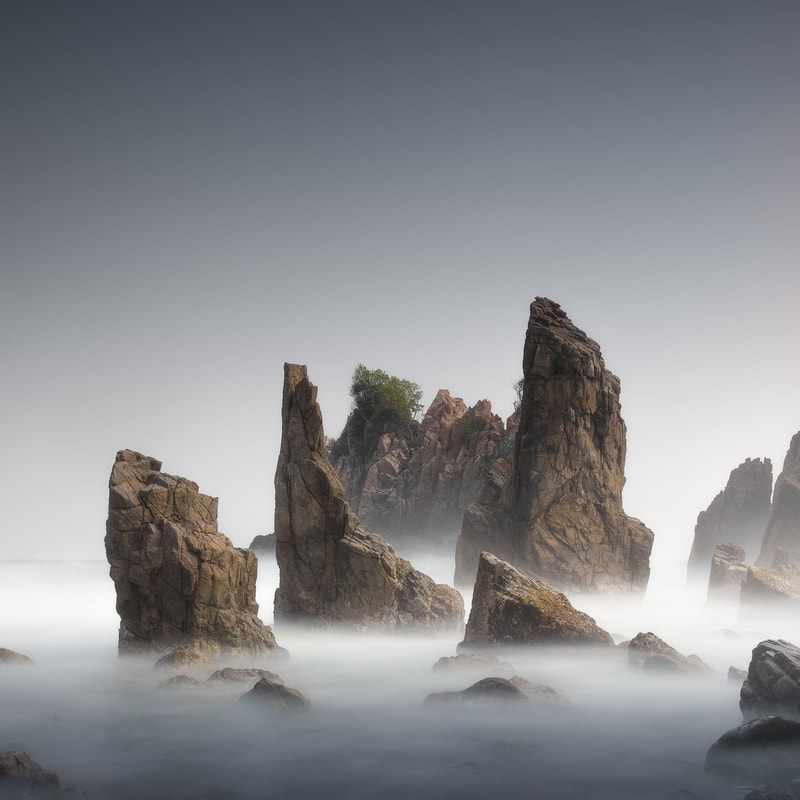 5. Horizon In applying rule of thirds, you should not place the horizon in the centre of your frame. You should put it a third of the way from the top or bottom of your shot. This can give a breathing space for your interesting foreground or dramatic cloud formation depending on where you place the horizon.  6. Reflections One way to break composition rules is through adding reflections on your shot. In this way, placing the horizon in dead centre to give space for the reflections of your subject can yield appealing results. Always use CPL if you want to enhance the reflections on your captures. 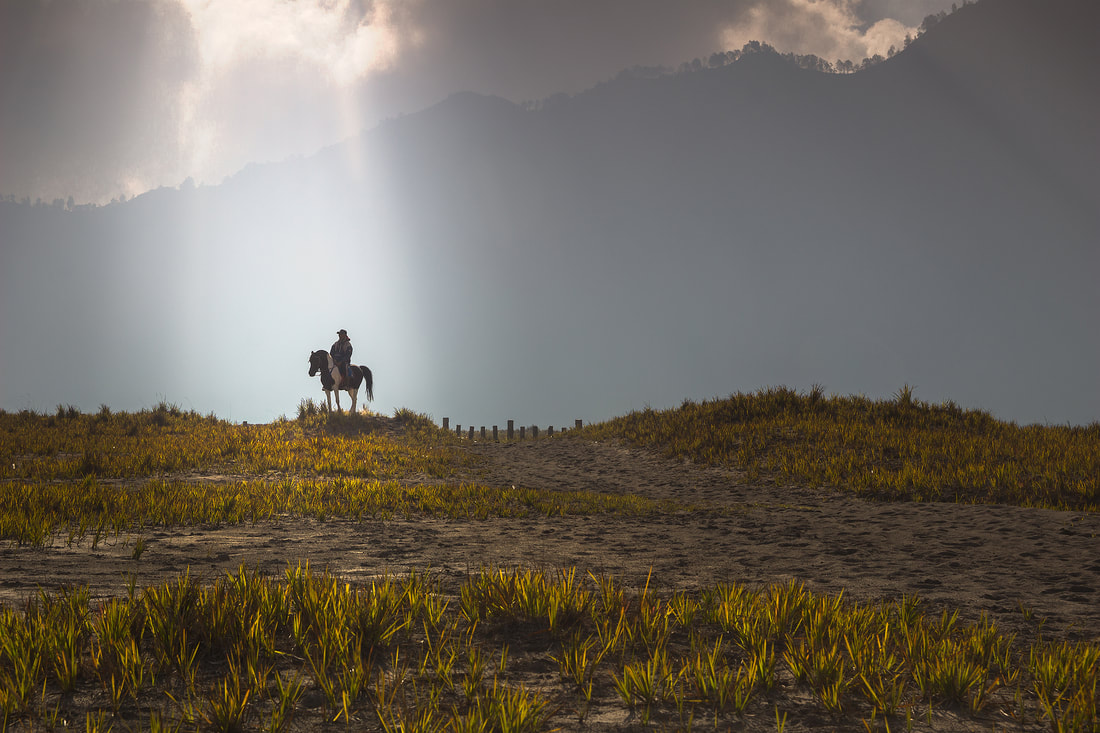 7. Focal point Focal points make a photograph interesting. Without it, photograph may look dull and will leave the viewers’ eyes wandering through your photographs. Focal points provide a resting place for the eyes. In above’s photo, the horseman serves to be the focal point but it could be anything; a tree, a hill, a barn, a flowing stream, sunburst, etc. A focal point element can be placed either on foreground or as a background. Rule of thirds is commonly followed in integrating focal points on your photographs. 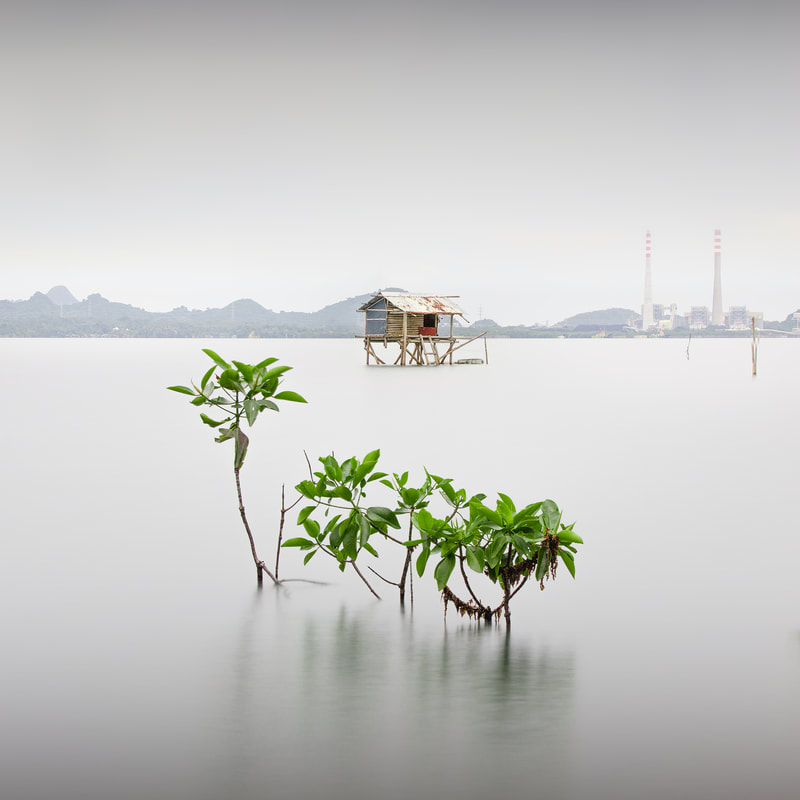 8. Centre of interest The natural tendency of a viewer’s eye is to be drawn towards the centre of attraction. And adding leading elements that will guide and point the eye towards the centre is one of the most creative ways to do it. The hut on the water in the above photo serves as the centre of interest and the mangroves on the foreground kinda lead towards it.  9. Consider the sky
Sky can make or break your landscape photo. It can make it boring and it can make it so interesting as well. If the sky is boring, let’s say cloudless, don’t let it dominate your shot and look for an interesting foreground and let it dominate. However, if you are in front of a dramatic sky with awesome colours and cloud formations, let it dominate your shot. In the photo above, the horizon is placed along the middle part of the shot to give more area for the dynamic sky. So I hope those of you are just beginning to learn landscape photography have learned something from this one. If like it please share. My other articles can be found on the links below. Thanks. |
AuthorPlease refer to About page. Archives
July 2023
Categories |
 RSS Feed
|
For workshops, photo tours, private instructions, fine art prints, design and illustration service, and commercial shoot; please contact me via information below.
Telephone / WhatsApp: +639201233942 E-mail: [email protected] |
©2018 Francis Ansing